Small vat 3D resin print install

Small vat 3D resin print install
For smaller 3D resin printers, we recommend the fixed power source and outside frame installation procedure. Intended for smaller metal vats.
The outer installation is similar to the medium vat installation. Providing slow and steady heat, resinating into the vat and warming the resin at the ideal temperature, 21C(70F) - 32C(90F). It takes 1 hour for the heat to warm up the metal vat and reach its maximum temperature regulated by the thermostat.
- Use the scuff pad to clean the outer vat with IPA. Scrub one side, flip the pad over, and scrub again, till all the flakes of dried resin are removed.
- Apply the ThermalVATBAND to the tray's outer edge.
- Apply the top sticker of mylar to seal the outer edge.
- Fill your resin all the way to the MAX line.
- Allow your build plate to submerge into the vat at your home position
- Allow the ThermalVATBAND to prime and reach its maximum temperature.
- Seal the outer edge of your case with insulating foam tape to prevent cold air from blowing into the vat.
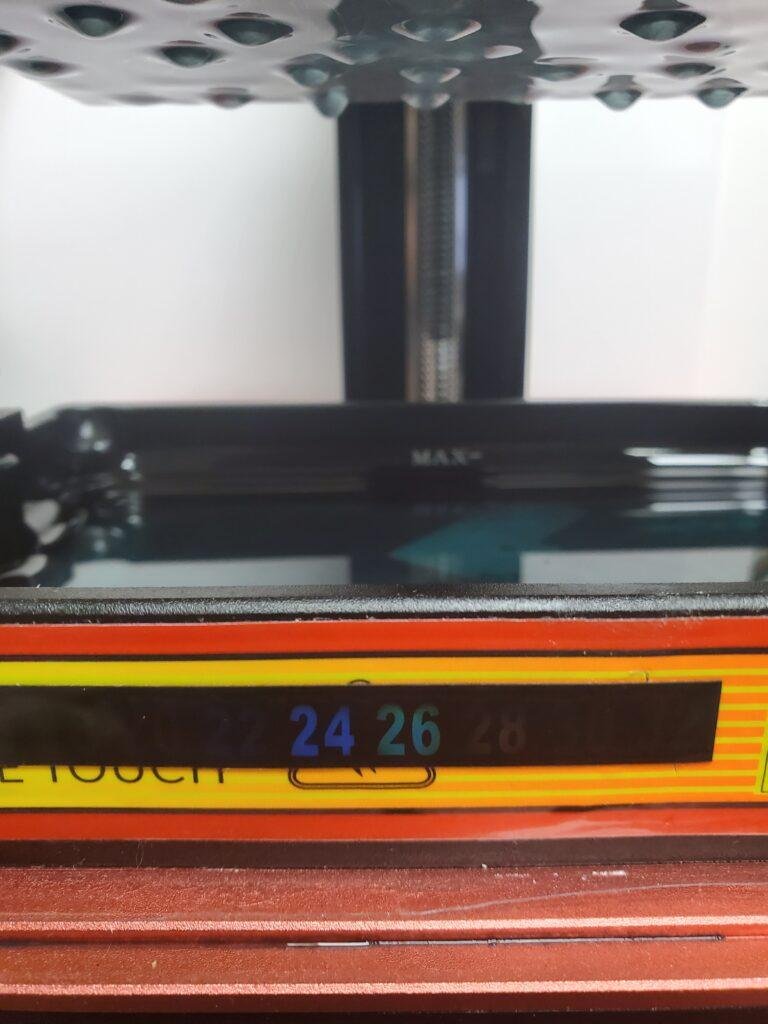
- Apply the sticker thermometer to a visible area.